Recreating UITextView - Text Layout
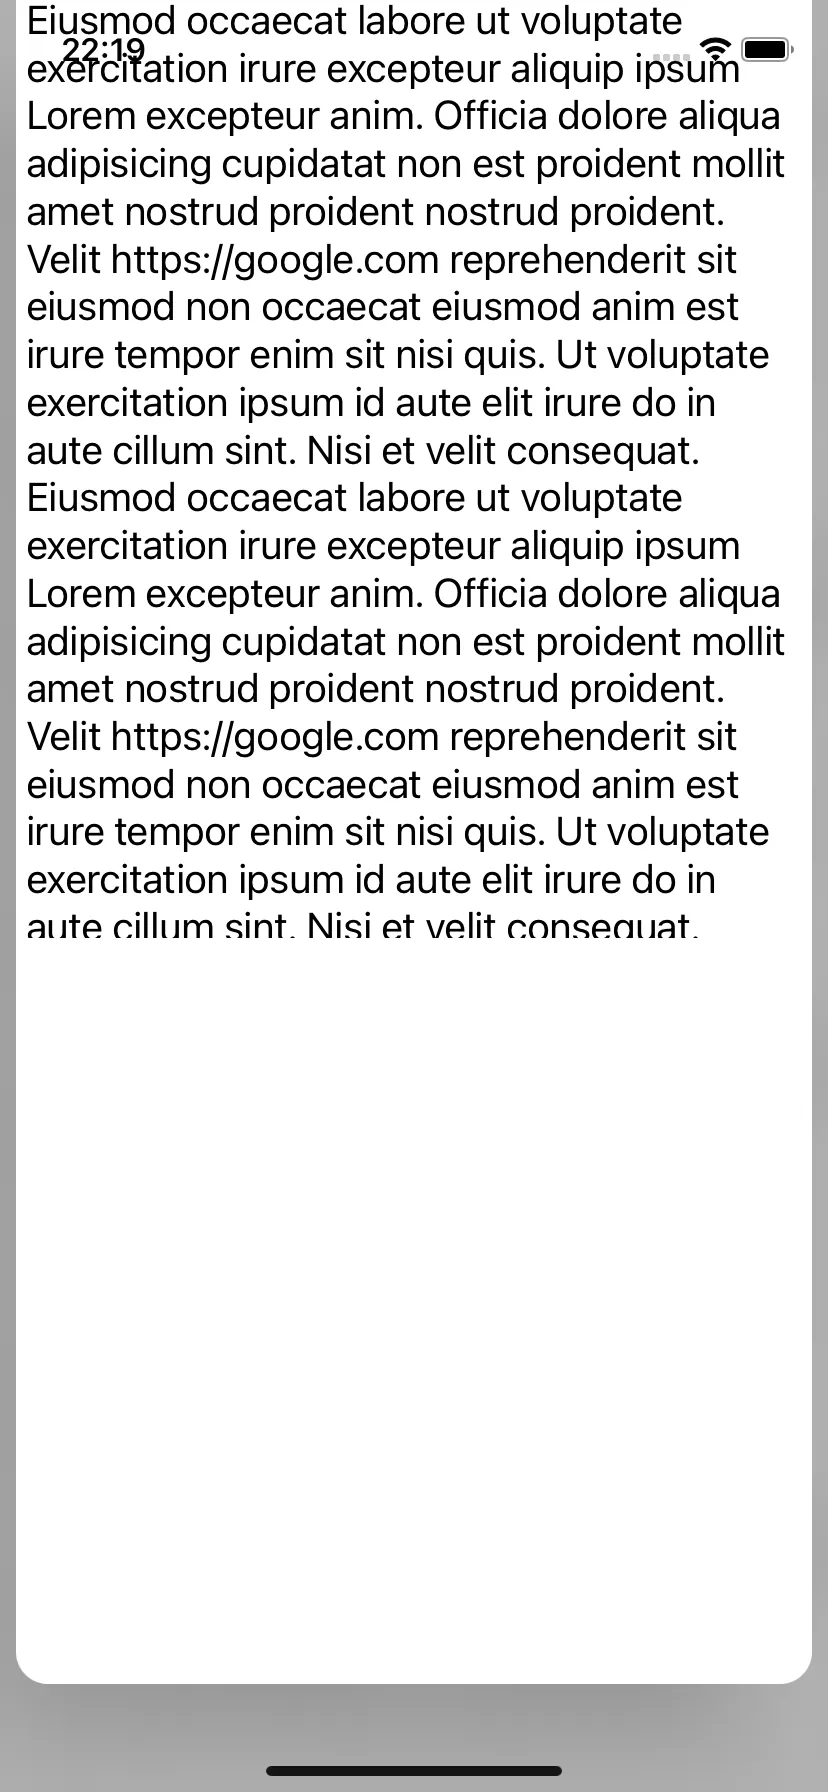
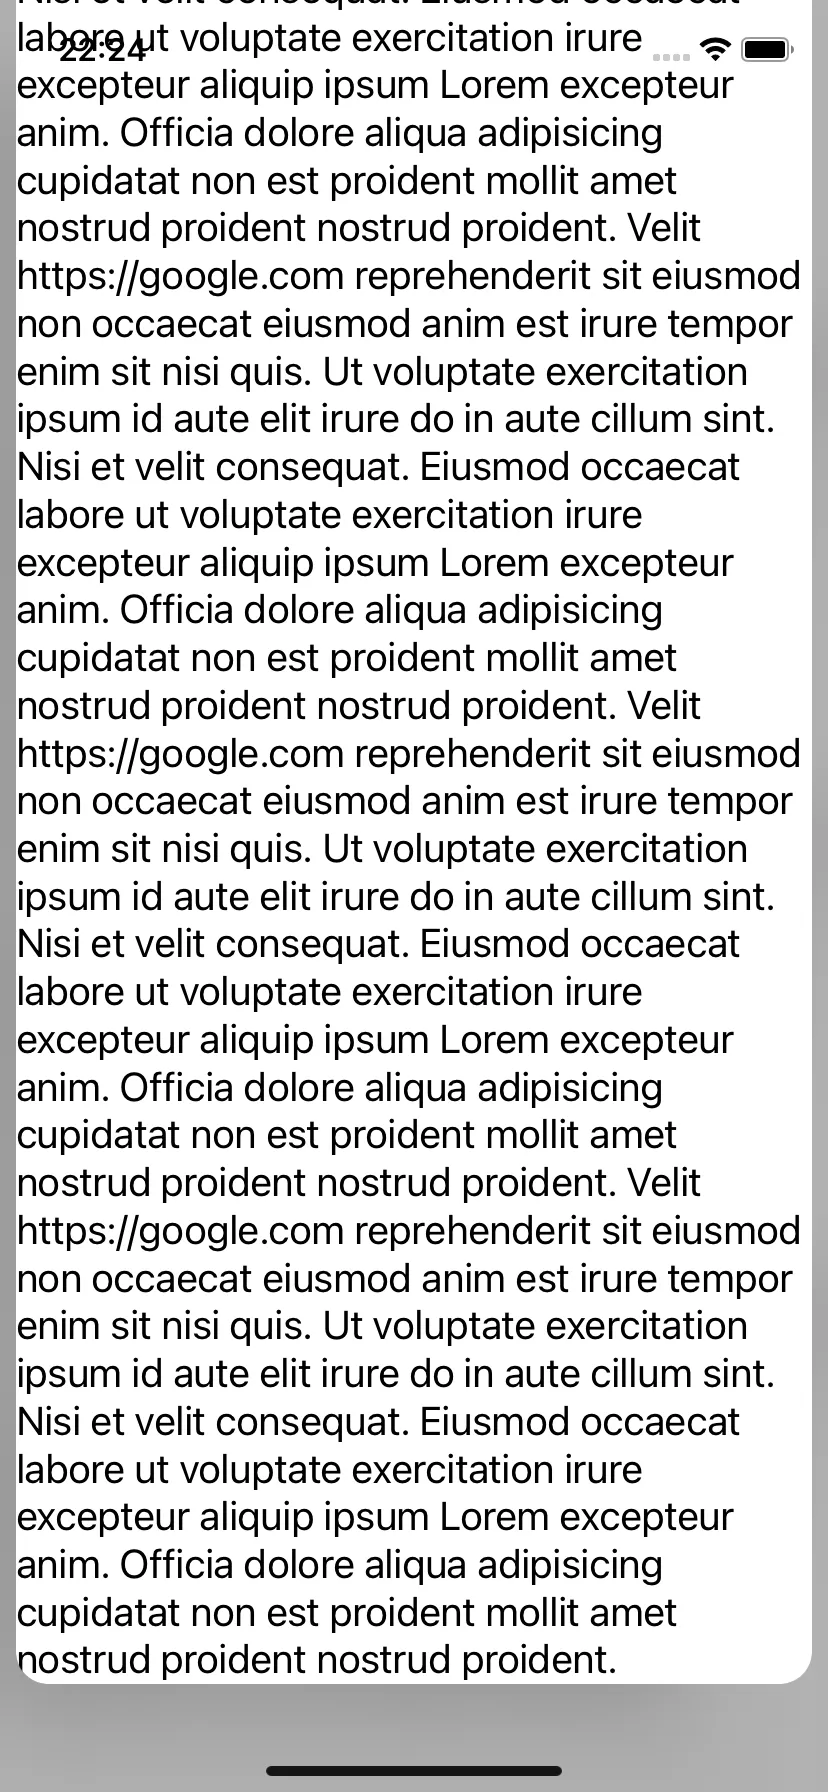
Before iOS 16 UITextView may introduce a significant limitation: when dealing with a large volume of text, it doesn’t always render the entire content. This can lead to incomplete visual representation and user interaction issues.

One of the possible options is to use UILabel instead of UITextView while composing a custom presentation. But it renders text not the same way UITextView does — first thing that may catch the eye is absence of leading padding. Such differences may lead to unexpected glitches while custom presentation.

Other option is to write own text view stack and use it in original screen and presented one leading to consistent transition.
Basics
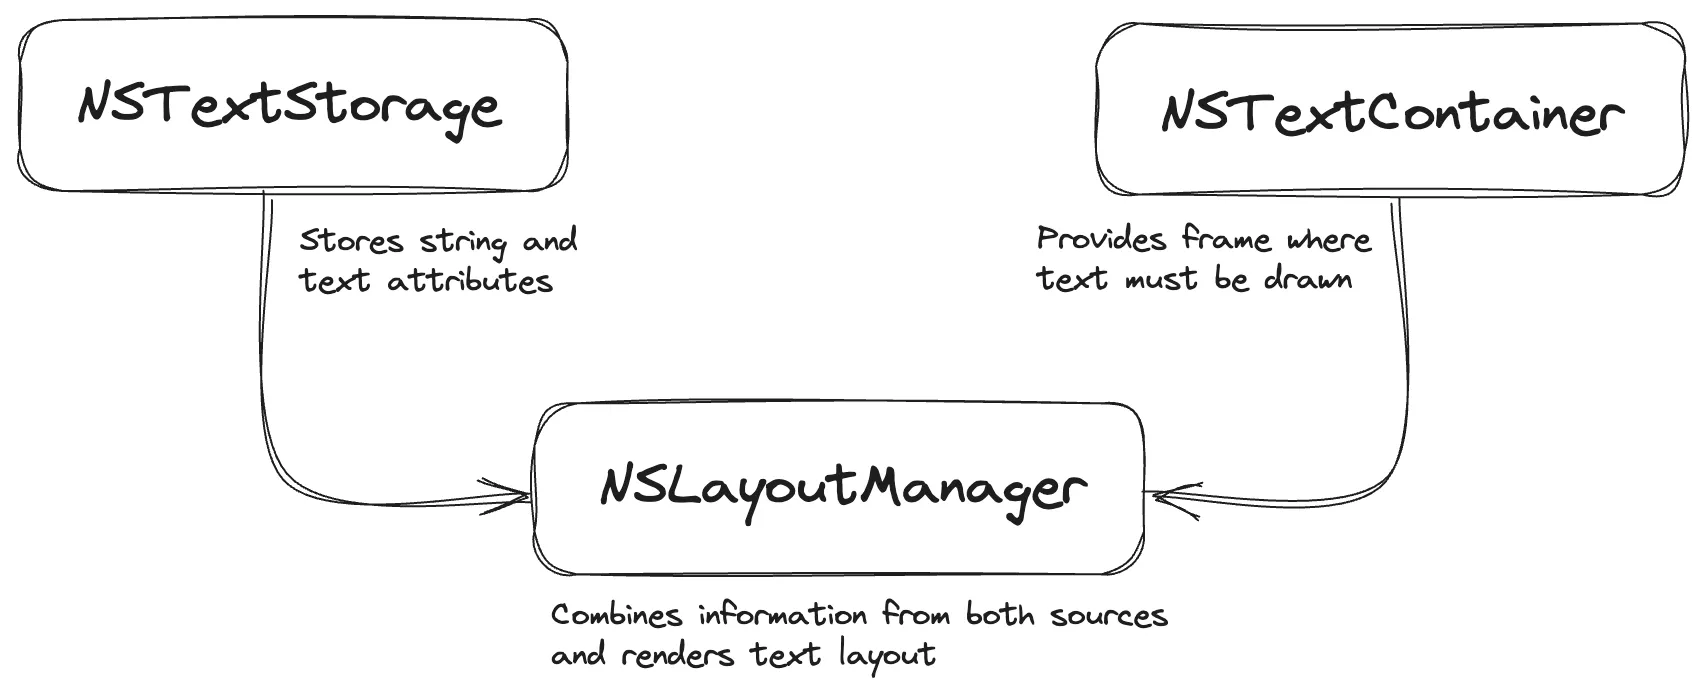
Text rendering is based on three components:
NSTextStorage: This component manages the text content and its attributes. It’s the central hub for the text content, serving as the source of truth for the text you intend to display.NSTextContainer: Defines the area where the text is drawn. It’s like a canvas, delineating boundaries within which the text can flow and be rendered.NSLayoutManager: Acts as the bridge betweenNSTextStorageandNSTextContainer, taking the text and its attributes fromNSTextStorageand fitting it into the space defined by NSTextContainer. It’s responsible for the layout and visual arrangement of the text.

I like it’s comparison with MVC (or any other UI architecture you like). In this analogy, NSTextStorage acts as the model, holding and managing the data. NSTextContainer represents the view. And NSLayoutManager is the controller, mediating between the model and view.
Implementation
We start by creating a subclass of UIView, named TextCanvasView. UITextView in it’s implementation is subclassing from UIScrollView providing scroll behaviour when text size is greater than view’s bounds. Since we don’t need this behaviour, our base class is UIView. The newly created type incorporates the properties for NSTextStorage, NSLayoutManager, and NSTextContainer.
final class TextCanvasView: UIView {
  private lazy var storage: NSTextStorage = {
    let storage = NSTextStorage()
    storage.addLayoutManager(layout)
    return storage
  }()

  private lazy var layout = NSLayoutManager()

  private var container: NSTextContainer?
}
In addition to the basic setup, we define two properties:
attributedText: Manages the content of the display. The setter triggers a redrawing of the view, ensuring that any updates to the text are immediately visible to the user. contentWidth: Specifies the maximum width considered when rendering the text.
final class TextCanvasView: UIView {
  var attributedText: NSAttributedString {
    get {
      storage
    }
    set {
      storage.setAttributedString(newValue)
      invalidateIntrinsicContentSize()
      buildContainer()
      setNeedsDisplay()
    }
  }

  var contentWidth: CGFloat = .zero {
    didSet {
      invalidateIntrinsicContentSize()
      buildContainer()
      setNeedsDisplay()
    }
  }
}
The buildContainer method defines the setting of the NSTextContainer instance. This is where contentWidth plays its role, limiting the text by width. The actual behaviour can be extended to specify a CGSize value instead of width, allowing to limit the size by both height and width.
extension TextCanvasView {
  func buildContainer() {
    if !layout.textContainers.isEmpty {
      layout.removeTextContainer(at: 0)
    }

    let container = NSTextContainer(
      size: CGSize(
        width: contentWidth,
        height: CGFloat.infinity
      )
    )
    layout.addTextContainer(container)

    this.container = container
  }
}
Now TextCanvasView is capable of determining the necessary objects for text rendering. The next step is to ensure it properly handles layout and drawing.
In layoutSubviews, we rebuild the container to adapt to layout changes, and through setNeedsDisplay, we inform the system that the view needs to be redrawn.
intrinsicContentSize defines view’s size, which is used by autolayout to lay out (😅) the view. In the actual implementation we are enough with ensuring our NSLayoutManager instance has calculated layout for text for the valid NSTextContainer instance and return it’s size through usedRect(for:) method.
extension TextCanvasView {
  override func layoutSubviews() {
    super.layoutSubviews()
    buildContainer()
    setNeedsDisplay()
  }

  override var intrinsicContentSize: CGSize {
    guard let container else { return .zero }
    layout.ensureLayout(for: container)

    return layout.usedRect(for: container).size
  }
}
The final step is to override the draw(_:) method. Here, drawGlyphs(forGlyphRange:at:) instructs NSLayoutManager to render the glyphs for the specified range. We obtain the range by calling glyphRange(for:), passing in the NSTextContainer.
extension TextCanvasView {
  override func draw(_: CGRect) {
    guard let container else { return }
    let range = layout.glyphRange(for: container)

    layout.drawGlyphs(forGlyphRange: range, at: .zero)
  }
}
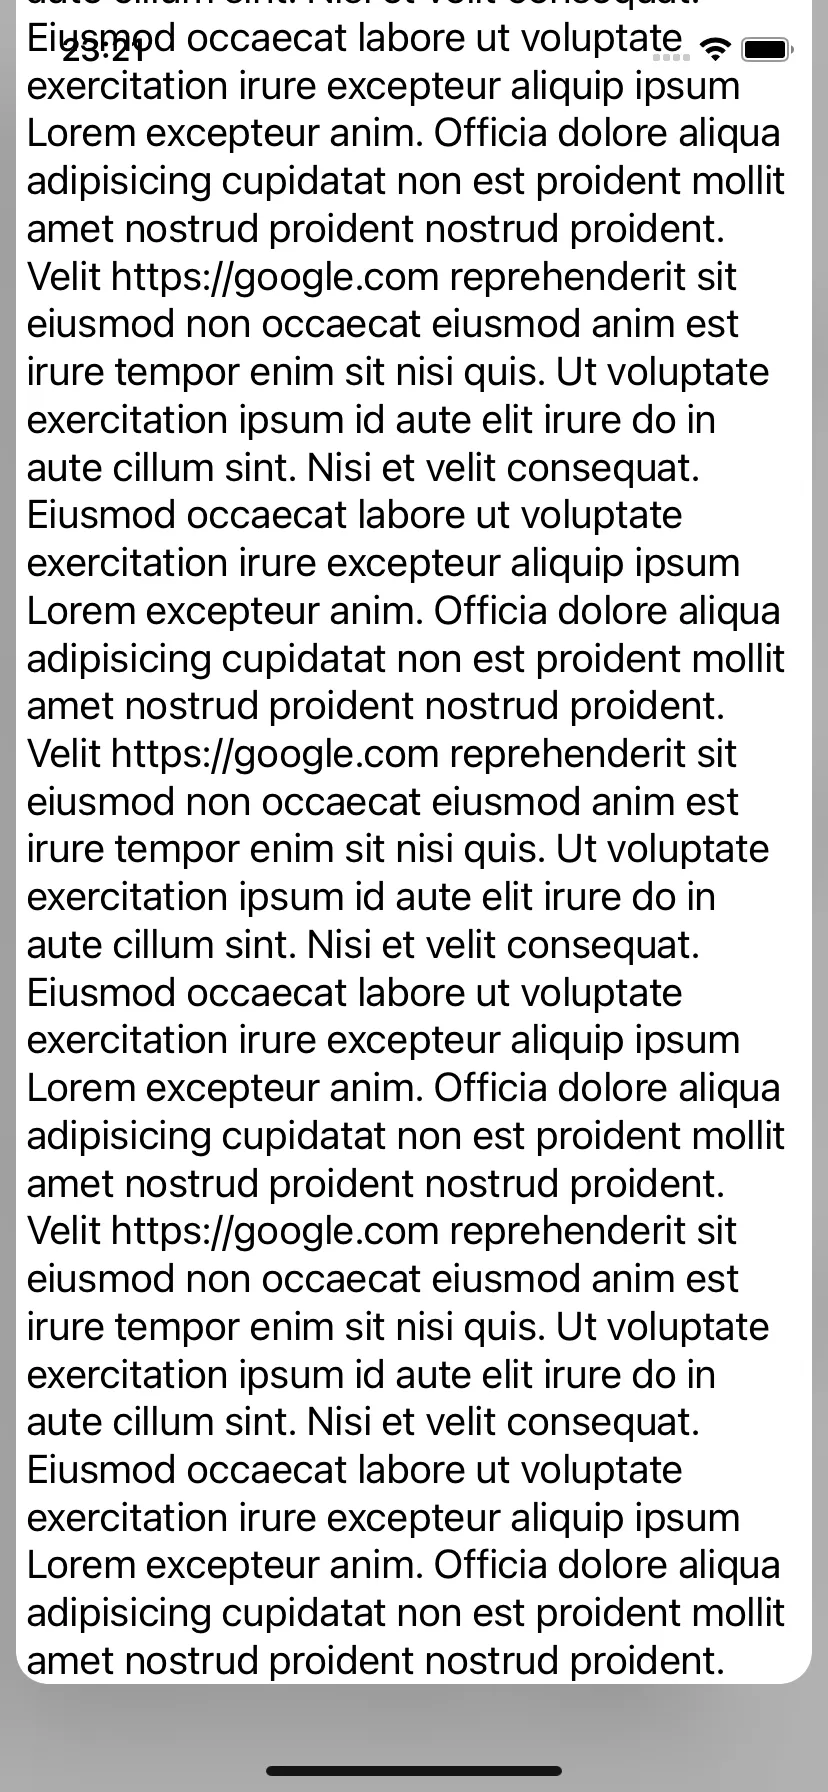
By implementing all these steps, we got rid of the missing text problem while keeping the UITextView rendering features intact.

Conclusion
In the end, it turns out that doing basic text rendering is a matter of a few lines of code. But in addition to displaying text, UITextView provides specific features for working with attributes.
In the next part we will look at how you can implement reference handling within TextCanvasView and extend this behaviour with more specific scenarios.